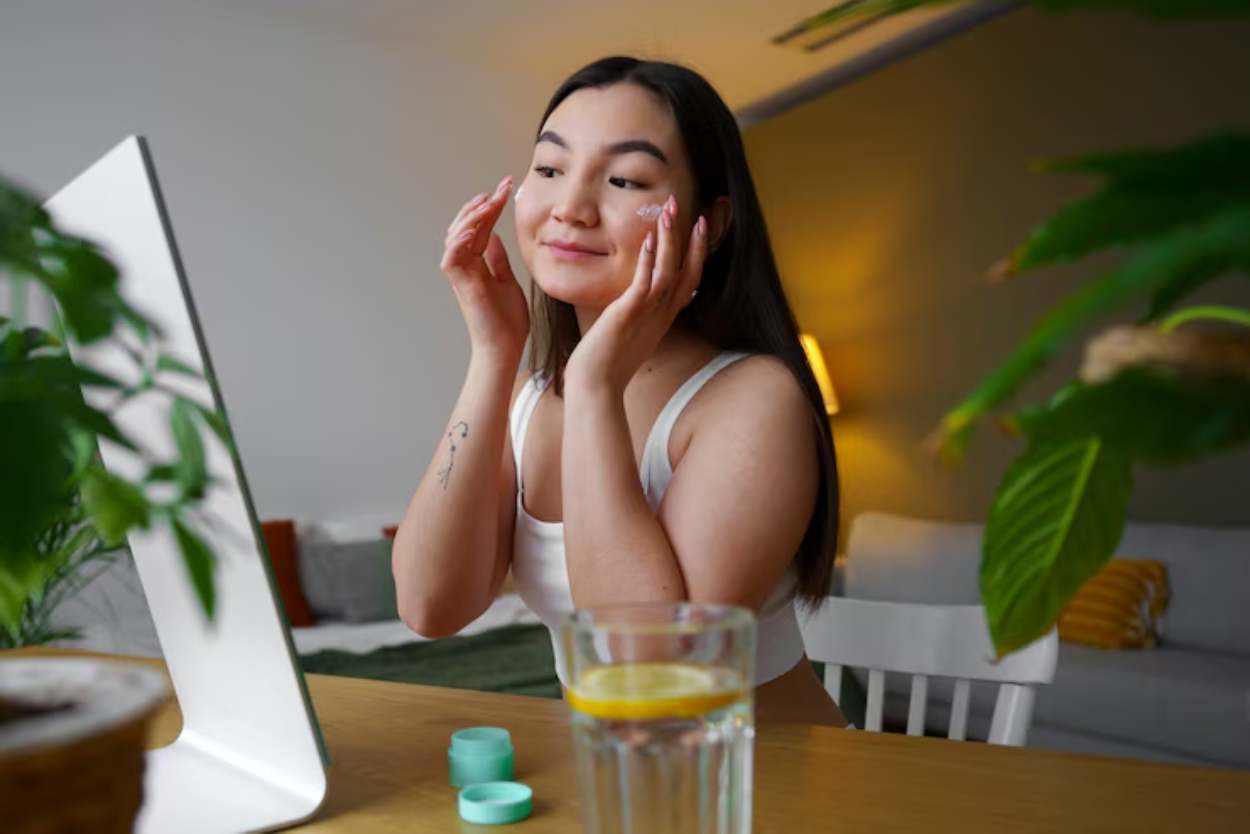
You’re rushing from work to dinner. Your makeup looked great this morning, but now it needs a quick refresh for the evening. The good news? You don’t need to start over or carry a full makeup bag.
With just three smart product choices, you can turn your daytime look into something perfect for the night. This isn’t about adding layers of makeup – it’s about making small changes that create a big impact.
Why Most People Get Day-to-Night Transitions Wrong
Most makeup tutorials tell you to add more and more products. Bronzer, highlighter, extra eyeshadow, false lashes – the list goes on. But here’s what actually happens when you try this approach:
- Your makeup looks heavy and overdone
- You spend too much time and money
- Your skin feels uncomfortable
- The look doesn’t match your personal style
The real secret is choosing the right three products that work together. Each one should solve a specific problem that happens when day turns to night.
Science Behind Why Your Day Makeup Fades
Your morning makeup starts breaking down around hour 6. Here’s what happens:
- Oil Production Increases: Your skin produces more oil throughout the day. This makes the foundation look patchy and eyeshadow crease.
- Natural Light vs Artificial Light: Day makeup is designed for natural light. At night, under restaurant or bar lighting, colours look different. What seemed bright and fresh now appears washed out.
- Activity Wear: You’ve been talking, eating, drinking, and moving. Your lips have lost colour, your Mascara has smudged slightly, and your overall look has softened.
Understanding this helps you pick the right products to fix these exact issues.
3-Product Formula That Actually Works
After testing dozens of combinations, these three categories give you the biggest transformation with the least effort:
- A multi-use colour product (for lips and cheeks)
- An eye intensifier (Mascara or eyeliner)
- A finishing product (powder or setting spray)
Let’s break down exactly how to use each one.
Product 1: Multi-Use Color Product
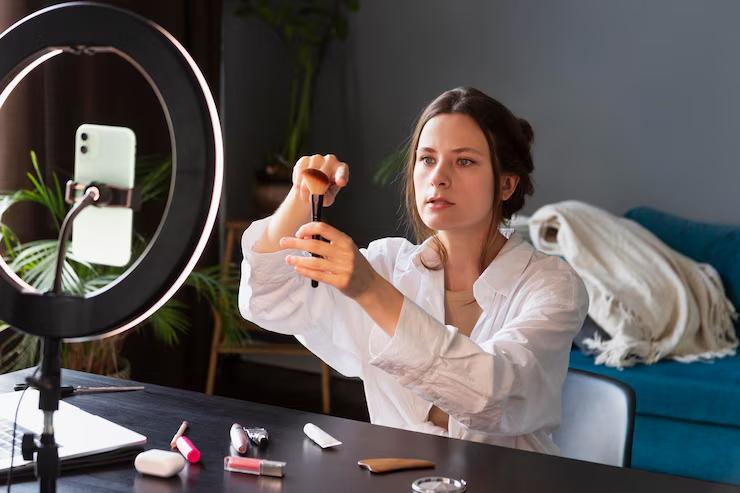
This is your secret weapon. One product that works on both lips and cheeks saves space and creates a cohesive look.
Best Options:
Cream Blush Sticks
- Apply to cheeks first, then lips
- Blend with fingers for a natural finish
- Colours like berry, coral, or rose work for most skin tones
Tinted Lip Balms with Buildable Color
- Start sheer on cheeks, build upon lips
- Won’t look patchy over existing makeup
- Choose one shade darker than your natural lip colour
Liquid Lipsticks (Matte Formula)
- Use sparingly on cheeks – a tiny dot goes far.
- Apply normally to lips.
- Pick colours that complement your skin undertone.
How to Apply:
- For Cheeks: Dot the product on the apples of your cheeks. Blend upward toward your temples. This lifts your face and adds warmth.
- For Lips: If using a lip product, apply directly. If using cheek product on lips, use your finger to pat it on, then blend the edges.
- Pro Tip: Apply to cheeks first. You can always add more, but it’s hard to take away.
Example:
Maheen, a marketing manager, uses a berry cream blush stick. At 6 PM, she adds a dot to each cheek and blends while walking to her car. Then she applies it to her lips in the parking lot. Total time: 2 minutes. Result: She looks refreshed and put together for her dinner date.
Product 2: Eye Intensifier
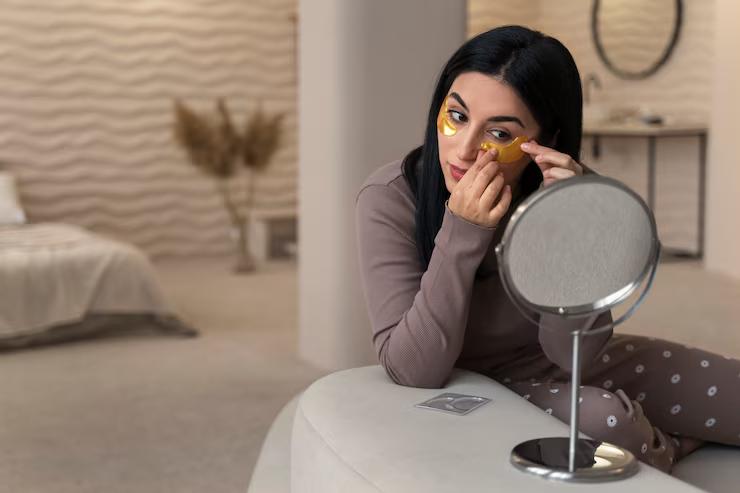
Your eyes are the focal point of any nighttime look. During the day, they might have looked bright and awake. By evening, you need something to make them pop again.
Best Options:
Waterproof Mascara (if you didn’t wear it during the day)
- Adds drama without looking overdone
- Won’t smudge during dinner or activities
- Choose brown for a softer look and black for more intensity.
Pencil Eyeliner
- Easy to apply without a mirror
- Smudge-proof formulas stay put
- Dark brown works for everyone, black for more drama
Eyeshadow Stick
- Quick application
- Blends easily over existing eyeshadow
- Neutral browns or taupes add depth without looking obvious
Application Techniques:
For Mascara:
- Wipe the wand to remove excess product
- Focus on top lashes only (the bottom can look messy by the end of the night)
- One thin coat is better than trying to build volume
For Eyeliner:
- Line just the top lash line
- Make the line slightly thicker toward the outer corner
- If your hand isn’t steady, dot the liner along the lash line and connect the dots
For Eyeshadow:
- Apply to the outer corner of your eye and blend inward
- Use your finger – it’s warmer than a brush and blends better
- Build slowly – you can always add more
What Beauty Experts Say:
Makeup artist Jenny Nguyen, who works with busy professionals, says: “The biggest mistake I see is people trying to add dramatic eyeshadow over their day look. Instead, just intensify what’s already there. A thin line of eyeliner or one coat of Mascara makes a huge difference.”
Product 3: Finishing Product
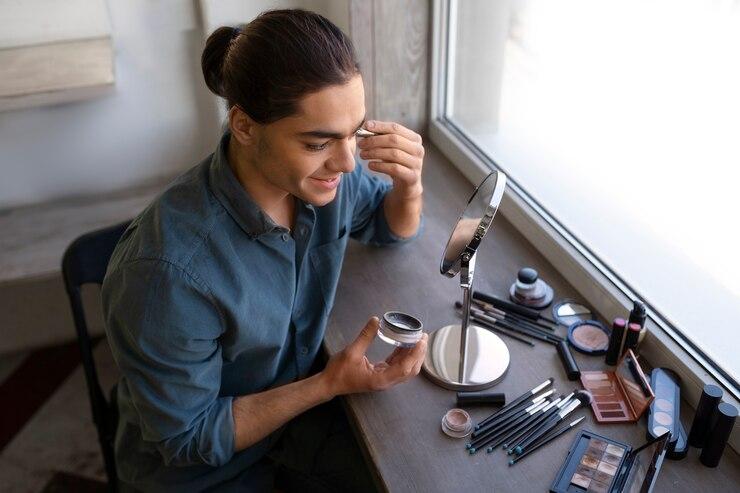
This step locks Everything in place and gives your skin the right finish for nighttime lighting.
Best Options:
Translucent Setting Powder
- Controls shine without adding coverage
- Makes your makeup last longer
- Focus on the T-zone and under the eyes
Setting Spray
- Refreshes your entire look
- Adds a healthy glow
- Works over powder without looking cakey
Pressed Powder Compact
- Easy to carry and apply
- Good for quick touch-ups
- Choose one that matches your foundation
How to Use:
Setting Powder:
- Use a fluffy brush or powder puff
- Press into the skin rather than wiping
- Focus on areas that get oily first (usually forehead, nose, chin)
Setting Spray:
- Hold 6-8 inches from face
- Spray in an X pattern, then a T pattern
- Let dry completely before touching your face
Pressed Powder:
- Use the included puff or a small brush
- Pat gently over any shiny areas
- Check under different lighting if possible
Step-by-Step: Putting It All Together
Here’s exactly how to do your day-to-night transition:
Step 1: Assess Your Current Look (30 seconds)
Look in a mirror or use your phone camera. What needs the most help? Usually, it’s:
- Faded lip colour
- Flat-looking cheeks
- Less defined eyes
- Shiny T-zone
Step 2: Apply Your Multi-Use Color (1 minute)
- Dot on cheeks and blend
- Apply to lips
- Check that the colour looks even
Step 3: Intensify Your Eyes (1-2 minutes)
- Add your chosen eye product
- Take your time – rushed eye makeup looks obvious
- If you make a mistake, use a cotton swab to clean it up
Step 4: Set Everything (30 seconds)
- Apply your finished product
- Take a final look
- Adjust anything that seems off
Total Time: 3-4 minutes
Common Mistakes and How to Fix Them
Mistake 1: Using Too Much Product
The Problem: Your day makeup is already there. Adding too many new products makes Everything look heavy.
The Fix: Start with less than you think you need. You can always add more.
Mistake 2: Wrong Color Choices
The Problem: Picking colours that don’t work with your existing makeup.
The Fix: Choose colours that are slightly deeper versions of what you’re already wearing. If you wear pink blush during the day, go for a berry shade at night.
Mistake 3: Skipping the Setting Step
The Problem: Your new makeup doesn’t last through dinner.
The Fix: Always finish with powder or setting spray. This step takes 30 seconds but makes Everything last hours longer.
Mistake 4: Bad Lighting
The Problem: Your touch-up looks great in your car mirror but weird inside the restaurant.
The Fix: If possible, check your look under different types of light. Phone flashlights can help simulate indoor lighting.
Product Recommendations by Budget
Budget-Friendly Options (Under $15 each)
- Multi-use: CoverGirl Cheekers Blendable Powder Blush (use with lip balm)
- Eyes: Maybelline Great Lash Mascara in Brown
- Finishing: e.l.f. HD Setting Powder
Mid-Range Options ($15-30 each)
- Multi-use: Glossier Cloud Paint in Storm or Puff
- Eyes: Urban Decay 24/7 Glide-On Eye Pencil
- Finishing: NYX Setting Spray
Higher-End Options ($30+ each)
- Multi-use: Rare Beauty Soft Pinch Liquid Blush
- Eyes: Charlotte Tilbury Pillow Talk Push Up Lashes Mascara
- Finishing: Laura Mercier Translucent Loose Setting Powder
Timing Your Touch-Up
5 Minutes Before You Leave Work
This is ideal timing. Your makeup has settled, but you haven’t started your commute yet. You have good lighting and a real mirror.
In Your Car
Keep blotting papers in your glove compartment. Do your colour products first, then eyes, then powder. Use your phone’s front camera to check your work.
In the Restaurant Bathroom
Not ideal, but sometimes necessary. Focus on lips and a quick powder touch-up. The lighting is usually dim, so don’t try to do detailed eye work.
Seasonal Adjustments
Summer Day-to-Night
- Use cream products – they won’t look patchy over sweaty skin
- Skip heavy powder – use blotting papers instead
- Choose waterproof Everything
Winter Day-to-Night
- Add extra moisture before applying new products
- Powder is more important – indoor heating can make you oily
- Slightly deeper colours work better in winter lighting
What to Keep in Your Bag
You don’t need to carry full-size products. Here’s the minimum:
Essential Kit:
- Travel-size multi-use colour product
- Mini Mascara or eyeliner
- Pressed powder compact
- Small mirror
- Cotton swabs (for cleanup)
Backup Items:
- Lip balm (in case the colour is too drying)
- Blotting papers
- Bobby pins (your hair might need a quick fix, too)
Troubleshooting Common Problems
“My lipstick won’t stay on.”
- Blot your lips with a tissue first
- Apply colour, blot again, and then apply a second thin layer
- Avoid oily foods for the first 30 minutes
“The new blush looks patchy.”
- Your skin might be too dry. Pat on a tiny bit of moisturizer first
- Use cream blush instead of powder
- Apply in thin layers and build up
“My mascara clumps with the mascara I already have on”
- Use an eyelash comb between coats
- Wipe the mascara wand clean before applying
- Consider using eyeliner instead for less buildup
“Everything looks too heavy.”
- You might be adding too much product
- Try using your finger to blend and soften harsh lines
- Next time, use less product and build gradually
Advanced Tips from Makeup Artists
Color Theory for Beginners
- Warm skin tones: Choose colours with yellow or orange undertones (coral, warm pink, bronze)
- Cool skin tones: Pick colours with blue or purple undertones (berry, rose, plum)
- Neutral skin tones: Most colours work, but avoid very warm or very cool shades
Working with Existing Makeup
- If your foundation is patchy, don’t add more foundation. Use concealer only where needed
- Faded eyeshadow can be refreshed with a similar-toned eyeshadow stick
- If your morning blush has disappeared, you can usually apply new blush right over it
Professional Tricks
- Warm up cream products between your fingers before applying
- Use a light hand – you can always add more
- Blend immediately – don’t let products set before blending
The Psychology of Day-to-Night Makeup
Looking put together in the evening affects how you feel and how others perceive you. Research shows that people who feel confident about their appearance are more likely to:
- Speak up in social situations
- Feel comfortable in professional networking events
- Enjoy their evening activities more
This isn’t about vanity – it’s about feeling your best so you can focus on what matters.
When This Approach Won’t Work
This 3-product method works for most situations, but there are exceptions:
Formal Events
If you’re going to a wedding or gala, you might need more dramatic changes. Consider this your base, then add:
- A bold lip colour
- More defined eye makeup
- Highlighter for photos
Long Days (12+ hours)
If your makeup has been on for more than 12 hours, you might need to remove and restart certain areas:
- Take off eye makeup and reapply
- Use a makeup wipe on your T-zone before adding new products
Special Occasions
Date nights, job interviews, or important meetings might call for specific looks that require more than 3 products.
Building Your Personal System
Everyone’s face and lifestyle are different. Here’s how to customize this approach:
Test Different Combinations
Try different multi-use products to see what works with your skin type and existing makeup routine.
Consider Your Schedule
If you consistently have 5 minutes, you can be more detailed. If you are always rushing, focus on the quickest options.
Match Your Personal Style
A minimalist person might prefer a tinted lip balm and Mascara. Someone who loves makeup might choose a bold cream blush and dramatic eyeliner.
Account for Your Social Life
If you always go to dimly lit restaurants, you can use more colour. If you often attend outdoor evening events, less dramatic changes work better.
Maintenance and Updates
Monthly Check-ins
Once a month, assess whether your 3-product system is still working:
- Are the colours still flattering?
- Do the products still apply well over your day’s makeup?
- Have your evening activities changed?
Seasonal Updates
Change your products with the seasons:
- Spring: Lighter, more colourful options
- Summer: Waterproof and long-wearing formulas
- Fall: Deeper, richer colours
- Winter: More moisturizing formulas
Product Expiration
Replace products when they:
- Change texture or smell
- Stop applying smoothly
- Cause irritation (this can develop over time)
Final Lines
Transitioning from day to night doesn’t require a complete makeup overhaul. With the right three products – a multi-use colour, an eye intensifier, and a finishing product – you can refresh your look in under 5 minutes.
The key is choosing products that work with your existing makeup, not against it. Focus on enhancing what you already have rather than adding layers of new products.
Remember that confidence comes from feeling comfortable in your own skin. This system should make your life easier, not add stress to your routine.
What to Do Next
- Assess your current routine: What’s your biggest day-to-night makeup challenge?
- Choose your three products: Start with budget-friendly options to test the system.
- Practice at home: Try the full routine on a weekend when you have time to adjust.
- Build your kit: Assemble travel-size versions for your bag or car.
- Adjust as needed: Give yourself a few weeks to perfect your personal system.
The goal is to create a routine so simple and effective that you never have to think twice about your evening look. When your makeup works for you, you can focus on enjoying your night.
Remember: The best makeup routine is the one you’ll actually use. Start simple, be consistent, and adjust based on what works for your lifestyle.


